HomeShopTutorialsMy Gallery Country LivingDriftwoodFurniture PaintingGolden Minds

Tuesday 24 December 2013

Christmas Comes

 With today's entry I'd like to close out year 2013, which I must admit must somewhat stormy, but after all, calm comes after a strom. For me comes time to reflect, rest and plan. 

If you don't already know, we are expecting our first little one, and each day is a small mystery which we will be able to solve in five months. 
By the way, we have been mulling over names for a boy, so if any interesting names come to your minds, please write and I will gladly read them.
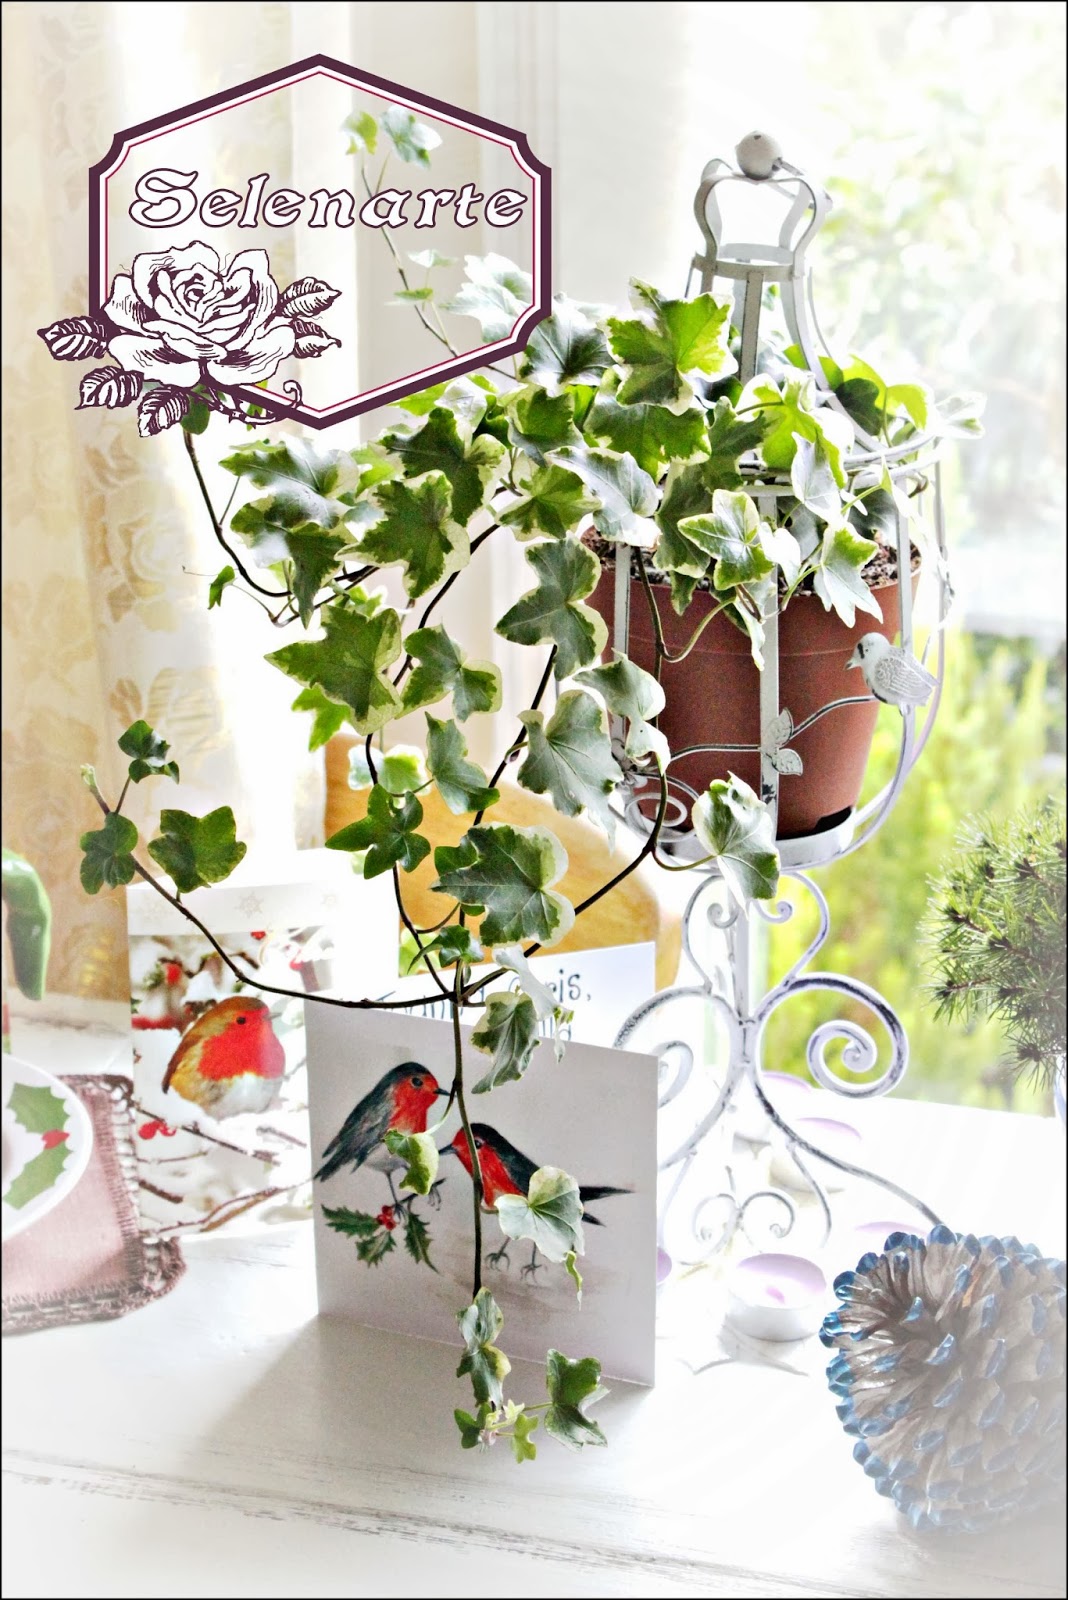
 My latest orders have been send and I hope that my customers will be happy and satisfied with this year presents.
 If you would like to make something last minute yourself,  I encourage you to check out my 'Tutorials' section and watch the short 'Christmas Tutorial' which I prepared just for you. 
To all decoupage lovers, I invite you to my newly formed Facebook page 'PassionForDecoupageUk'

 PassionForDecoupageUK
I also hope that your holiday shopping has been fruitful, and preparations in the upcoming days are peaceful and full of inspirations. 


 Once more, I wish health, colorful holidays as well as success in the upcoming year. 
I'll see you in 2014. 


 THIS WEEK COME AND PARTY AT:
 http://www.shabbynest.blogspot.co.uk/2013/12/frugal-friday_26.html- The Shabby Nest

Wednesday 20 November 2013

Christmas Tutorial - How To Decoupage A Metal Bucket Using A Paper Napkin And Crackle Medium

Hello

Most of you probably know that there is no surface which couldn’t be decorated with napkin, paper or your own printout.
Preparing metal surface may require a little bit more practise and knowledge as well as using special materials.
In case of slightly rust surfaces we can use anti corrosive product before we will go further. Such surfaces can be covered with water based primer and then, lightly rubbed down with paper.

I have prepared for you a little Christmas tutorial with paper napkin and crackle medium. 

    MATERIALS:

-          Metal bucket

-          Sandpaper (60-100 grit)

-          Acrylic paint – base colour – sky blue

-          Acrylic paint – cobalt blue

-          Acrylic paint – white

-          Medium size brush

-          Pva or tacky blue

-          Crackle medium or crazy crack Dala

-          Kitchen sponge

-          Decorative ribbon

-          A whole bag of sweets or cones.


   1. My bucket has already been painted blue so I started to lightly
       rub down  the surface in order to get  better adhesion and then
       cover it with universal primer sealer. If your bucket isn’t
      painted, you should put a thin layer of primer and then slightly
      rub it down with sandpaper.


  2. Upper part of the bucket is tapped with sponge so that we get 
      dark blue. We leave it to be dry.


    3. I cover a completely dry blue strip with a small amount of crackle medium, not to stream, and then I wait until it will be slightly dry until the moment it is very  gently sticky but is not totally dried.

  4. I cover whole bucket with white and wait for ca. 30 minutes until it will be dry.


5 Cut out precisely the motive during the process of drying. It can be pulled out but there will be ugly edge of the napkin, distinguishing from the rest, on the white background.

Professional decoupage is to combine the picture with the background to present the motive as it would be painted. Play with precise cutting has wonderful final effects. Maybe, next time I will tell you more about my point of view relating to cutting and pulling out some motives from napkins.
 

  6. Before applying glue, you plan where our napkin will be on the    bucket in order to get satisfying look. I suggest you to wait up to the moment the glue will be slightly dry and then we stick bells separately, gently pushing them with dry fingers or dry brush.

 7.  When it is dry, cover entire work with glue once again. If our glue is too thick, we can softly mix it with water.


    8In case of my works, the bucket is covered with over a dozen layers with varnish and sanded between layers.
For domestic purposes, you can sprinkle it with one or two layers of spray varnish.


I wonder if it isn’t too early to wish you Merry Christmas so I wish you successful Christmassy shopping.

Maybe, you will prepare some gifts for your relatives by yourself this year.

See you next...

This week come and party at:


Tuesday 8 October 2013

Furniture styling – Small Furniture Forms – Shabby Chic and a Patinated chest of drawers


Hello 

At the beginning I want to invite all of you to my new GROUP created for decoupage lovers and for those who want to be closer to this art of decorating.


This is closed group created for all things DECOUPAGE RELATED, as well as hand painting and paper craft in UK.
This group is only by an invitation.

You can share your work, photos, tips, tutorials or blog posts related to decoupage, hand painting or paper craft. 
Everyone is very welcome.

Today I’ll show you a small distressed furniture form - a jewellery chest of drawers.
PATINATING or in other word AGEING WITH PATINA is one of the operations of distressing furniture with the use of ‘sharp’ tools, paints and patina. 

I’ve decided to choose the colour which opposes the one used to decorate previous piece of furniture, made during the course '5 steps of furniture styling’. Here you can see the report and the final effect of some works. We use only small items during such classes because most of operations are time-consuming and require sanding, brushing or wax finishing.


The item is made from soft wood, probably from pinewood.
It is great to experiment with colours from time to time in order to get your dream masterpiece suiting to your own interior. 

While decorating with acrylic paints, the items frequently soak up water, thus changing their volume a little bit. Hence, I have felt the resistance while pulling drawers out. In such a case, you should polish the edges.
An extraordinary final effect was achieved thanks to the exchange of the round handles of drawers for the handmade twisted roses.
I’ve got a shabby chic piece which is greatly distressed.


 Furniture styling has absorbed me so much. I’ll show you soon a white washed stool, made with white washing technique.
                                               

This week I am sharing with


Sunday 29 September 2013

It Is Time To Say Goodbuy To The Summer - Decoupage On Metal - Vintage Watering Can

Welcome back after my holiday...


I have to admit that this year the summer held up which positively influenced my mood as well as further willingness to create.
Currently I'm getting back to the normal after three weeks of holiday. Who would have thought that I have spend the entire time without the computer, or rather without the Internet. I looked into the website from time to time beceause of my curiosity and I admit that there was so much to keep up with those days.
 While I was away I received a lot of messages from people from all over the world with some nice comments and questions about decoupage.
Therefore, I have a lot to do. I tried to prepare for this swimming, strolling about the forest as well as practising some extreme sports after which, I have to admit, I'm a little bit aching.

During my holidays I had the opportunity to try Japanese cuisine, climbing and watching motorcycle racing. 


At the end, here is my watering can made using napkin technique. The motif was pulled out which suits the most my way of sticking, the background was painted in by hand. As a result, I got the item which is lightly covered with rust


A clock created in a similar style, which was made at the same time as the watering can, adorns children’s bedroom of a really young lady.

This week I party at:
  • 'Show And Tell Friday' http://romantichome.blogspot.co.uk/2013/10/show-and-tell-friday.html
 

Thursday 29 August 2013

Dry Brushing - Coffee Table Makeover


 Today I will show you my work made with the use of technique of painting a variety of surfaces which are not only wooden but also made of iron, metal or even canvas. The technique is called DRY BRUSHING. 


 Having experienced it myself, I know that the effect got with the usage of this method depends on the amount of paint which is put on the surface, a type of brush as well as the colour of outer or primer paint. Generally, thin, narrow brushes are out of the question. You should also know that after finishing the process of painting, the work will be covered with wax or varnish which will brighten the final effect. 
 
Therefore, it is sometimes better to paint the surface more greatly in order to reach the intensive look of an old, used piece of furniture with the features of an antique masterpiece. 


Dry brushing is a method of putting paint on the surface with almost dry brush.


We can use acrylic or water based paints. Sadly, I haven’t got any experience with the oils because of the onerousness of washing the brush with special degreasing agents.

I’m often so excited because of a new project that I’m lost to the world therefore I couldn’t take the picture before starting the work.


A whole table was covered with a very dark paint and it was greatly varnished. The process of removing the paint lasted a few hours. However, thanks to it I uncovered the real structure of the wood.
I’ve used antique pine, water based stain as a base coat. Dry brushing was firstly made with white acrylic paint. Then, I’ve added beige and green. 


The whole work was covered with matt acrylic varnish.

The final effect is presented here:


See you next....